Introduction
In digital age mastering command line interface (CLI) is a valuable skill for any computer user. While modern graphical user interfaces (GUIs) have made computing more accessible CLI remains a powerful tool for efficiently navigating and controlling your computer. In guide we’ll explore basics of using Terminal on macOS Apples Unix based operating system to perform tasks and manage your system more effectively.
What is Terminal?
Terminal is a program on macOS that provides a command-line interface to interact with operating system. It allows users to input text based commands to execute tasks navigate files and directories and manage system settings. While it may seem daunting at first learning to use Terminal can greatly enhance your productivity and give you more control over your computer.
Accessing Terminal
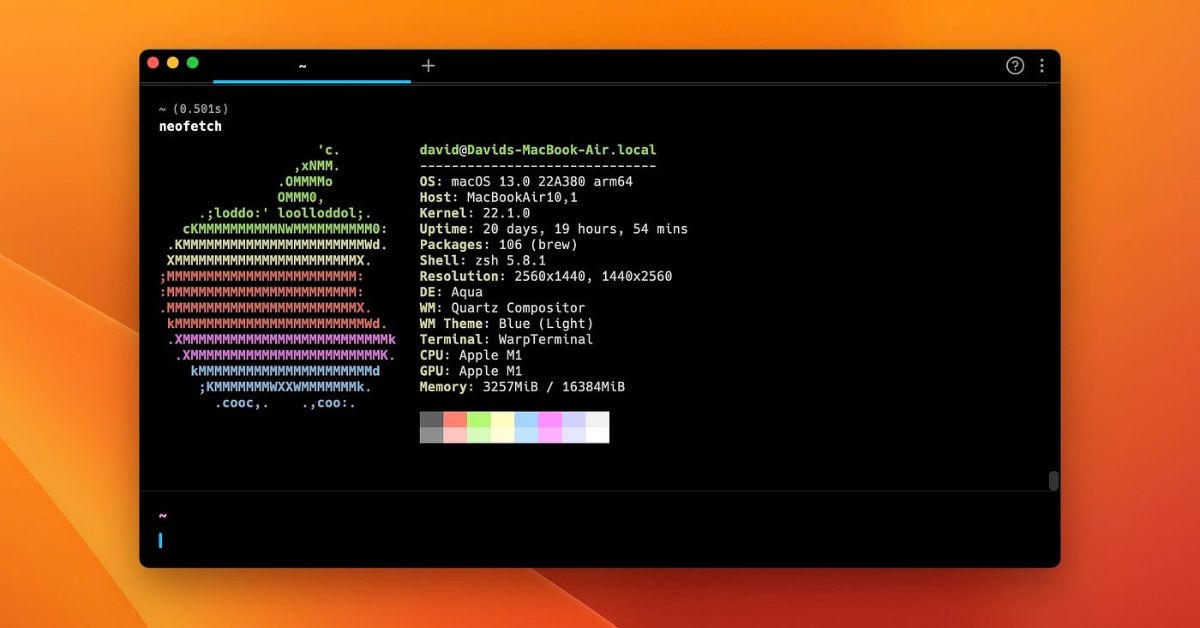
To access Terminal on macOS you can use Spotlight Search by pressing Command + Spacebar and typing “Terminal” or navigate to Applications > Utilities > Terminal. Alternatively, you can use the Finder to locate Terminal in the Utilities folder. Once opened you’ll be greeted with a blank window and a command prompt ready for your input.
Basic Commands
Lets start with some basic commands to get you acquainted with Terminal:
- pwd: Stands for “print working directory,” this command displays current directory you’re in.
- ls: Lists contents of current directory.
- cd: Stands for “change directory,” used to navigate between directories.
- mkdir: Creates a new directory.
- touch: Creates a new file.
- rm: Removes files or directories.
- cp: Copies files or directories.
- mv: Moves files or directories.
Navigating the File System
Understanding how to navigate the file system is essential when using Terminal. Here are some common navigation commands:
- Use cd followed by directory name to change into a specific directory.
- Use cd .. to move up one directory level.
- Use cd ~ to navigate to your home directory.
- Use ls to list contents of a directory.
- Use ls -l for a detailed list view.
- Use ls -a to show hidden files and directories.
File Management
File management is another crucial aspect of using Terminal. Heres how you can perform basic file operations:
- Use mkdir to create a new directory.
- Use touch to create a new file.
- Use rm to delete a file. Be cautious as this action is irreversible.
- Use rm -r to delete a directory and its contents recursively.
- Use cp to copy files or directories.
- Use mv to move files or directories.
Text Editing
You can also edit text files directly from Terminal using text editors like Nano or Vim. Here’ how to use Nano:
- Type nano filename to open a file in Nano.
- Use the arrow keys to navigate through the file.
- Make your edits.
- Press Ctrl + O to save the changes.
- Press Ctrl + X to exit Nano.
Working with Permissions
Understanding file permissions is important for managing security on your system. You can view and modify file permissions using chmod command. Heres a brief overview
- Use ls -l to view file permissions.
- Permissions are represented by three sets of characters r (read) w (write) and x (execute).
- The first set represents permissions for file owner second set for group owner and third set for others.
Summary
The Terminal is a powerful tool that can greatly enhance your productivity and give you more control over your macOS system. While it may seem intimidating at first with practice you’ll become more comfortable using the command line interface. Experiment with commands and techniques covered in this guide and dont be afraid to explore further. With time and experience you’ll unlock the full potential of Terminal and become a more proficient macOS user.